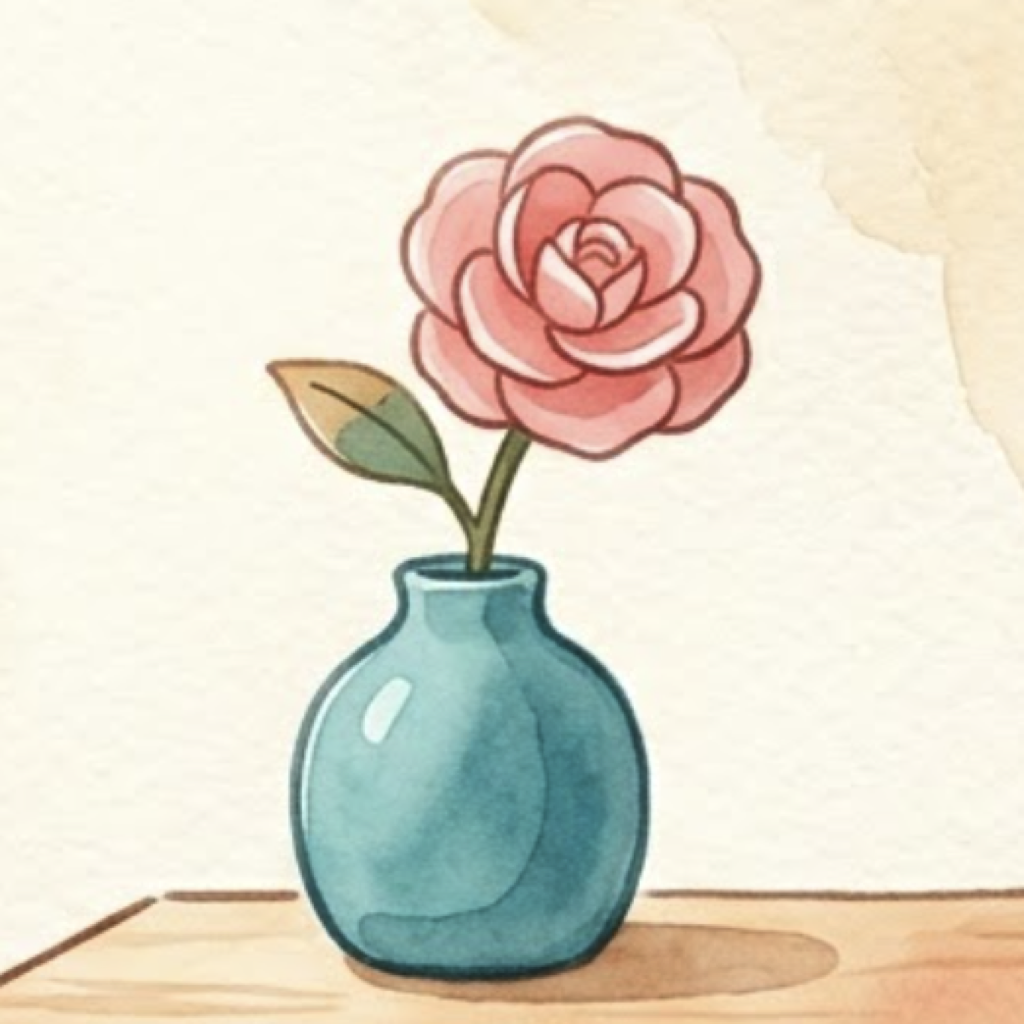
on foreground, middle and far
What Is a Paper Diorama? A Gentle Guide to Tiny Layered Worlds
October 23, 2026 · 3 min read
A diorama is a small scene built to be looked into, not just at. Museums use them to show a whole savanna in a glass case, and model railway fans use them to build towns. School children make them in shoeboxes. A paper diorama does the same thing with nothing but paper, scissors, and glue. It may be the most satisfying craft you can do on a kitchen table.
The trick: layers
A paper diorama looks deep because it's built in layers, usually three or more, stacked one behind another:
- The background: sky, distant mountains, a far horizon. It sits at the very back and is usually the palest.
- The middle ground: hills, buildings, a line of trees. These pieces are a little stronger in colour.
- The foreground: the details right in front of you, like a flower pot, a fence, or a cat on a wall. These are the boldest and most detailed pieces.
Your eye reads that change from pale and simple to bold and detailed as distance. Painters call this atmospheric perspective: far-away things look lighter, bluer, and less sharp because of the air between you and them. Paper dioramas borrow the same effect, and with real gaps between the layers they also get real shadows.
Why it works so well with paper
Paper has two qualities that make layering easy:
- Edges. A cut or torn edge gives every layer a crisp silhouette, so even similar colours separate cleanly.
- Shadow. Lift a layer a few millimetres off the one behind it and it casts a soft shadow. That one shadow turns a flat picture into a place.
You can lift layers with folded paper tabs, small foam dots, or strips of cardboard. Even 3 to 5 mm of space makes a visible difference.
Make your first one
You need: a shoebox or a small box frame, coloured paper or old magazines, scissors, glue, and something to make spacers (foam tape or cardboard).
- Pick one simple scene. A night sky over hills, a beach with a boat, or a forest path. Simple beats ambitious the first time.
- Paint or paper the back wall. This is your sky. A gradient, darker at the top, adds a lot of depth for very little effort.
- Cut a far layer. Distant hills or a skyline in a pale colour. Glue it close to the back.
- Cut a middle layer. Trees or houses in a medium colour, raised a little forward on spacers.
- Cut a near layer. Grass, a fence, flowers, in your strongest colours, closest to the front.
- Add one small story. A lit window, a tiny figure, a bird. One detail is what makes someone lean in.
- Light it from the side. A desk lamp to one side brings out the shadows between layers.
Ideas for a first diorama
- A night garden with a paper moon and a few glowing windows
- An underwater scene with layered coral (we wrote a whole guide to a shoebox coral reef)
- A mountain village with snow on the roofs
- A tiny solar system hung on thread inside the box
Dioramas without the scissors
Part of why we made Paper Worlds was that we loved this craft but rarely had the table space, or the evening, for a full session of cutting and gluing. In the game every scene is built like a paper diorama: a background, then layered paper pieces you place yourself. You get the same quiet arranging without the glue on your fingers.
If you do make one by hand, take a photo with side lighting. The shadows are the whole point.